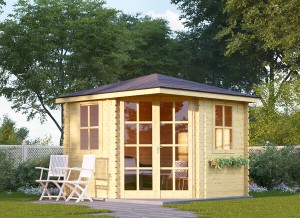
With Spring upon us, there are a few things you should do to get your wooden shed ready. Aside from the seasonal cleaning, there is something else you need to do. Protect your wooden shed from moisture. Although this can seem like an overwhelming task, it isn’t too hard if you know what you are doing. However, many people never give a thought about the effects of moisture on their wooden shed. If this sounds like you, there is no need to worry. This article will tell you the what you need to know about protecting your wooden shed from dampness.

11 Ways to Protect Your Wooden Shed from Moisture
#1. Elevate the Floor
If you are still in the stages where you can elevate the floor, do so. When the wooden shed itself sits too close to the ground, moisture from the ground below can wreak havoc. In fact, it can and will. Add in rain from Spring thunderstorms, and your shed could be destroyed in little to no time flat. To avoid this unfortunate situation, use concrete blocks to set the building. Then, put metal between the concrete blocks. You can even use scrap metal just sitting around! This protects the floor from moisture with an elevated substructure.
#2. Remove Vegetation
Any plant life touching your wooden shed should be removed or cut back. When flora touches wood, it automatically transfers some of its moisture to the wood. A little bit of moisture isn’t bad, but it can enter into your wooden shed through the panels.
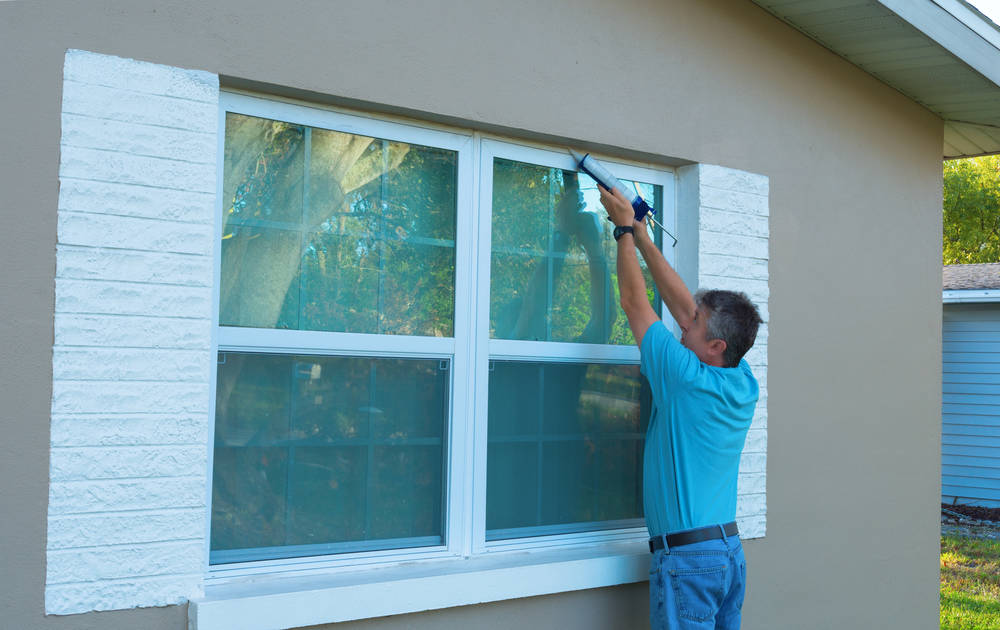
#3. Re-apply Caulk
Even though wooden sheds usually come caulked, you need to check it each Spring. Why? Over the winter, constantly freezing and unfreezing disintegrates the quality of the product. So, if you notice missing caulk, go ahead and re-do it. Some of the places where caulk tends to need replacing are the seams, trim, doors, windows, corners, air vents, and the area between the roof and the shed. Caulk not only keeps moisture out, it keeps rain from come in.
Pro tip: Apply on the exterior. Interior application will still allow moisture to seep into the wood, and it will warp your windows over time.
#4. Move the Furniture
You may not have actual furniture inside your wooden shed. However, you probably have storage containers, lawn care products, and other items sitting around. That’s fine. Just make sure there is a gap of 5-10 cm between your stuff and the wall. This allows for maximum air circulation, and minimizes moisture.
#5. Install Vents
There are two best places to install vents to increase air circulation in your wooden shed. A ridge vent in the roof will help, as will vents in your building’s gables. These let hot, humid air leave the shed, while keeping precipitation out. Don’t forget to caulk them afterwards! Another type of helpful vent is the soffit vent. This brings dry, cool air inside your wooden shed. For those that don’t know what a soffit is, you aren’t alone. This weird word refers to the underside of the building’s overhang. Since the soffit vent is underneath the roof eave, it is protected from rain and snow.
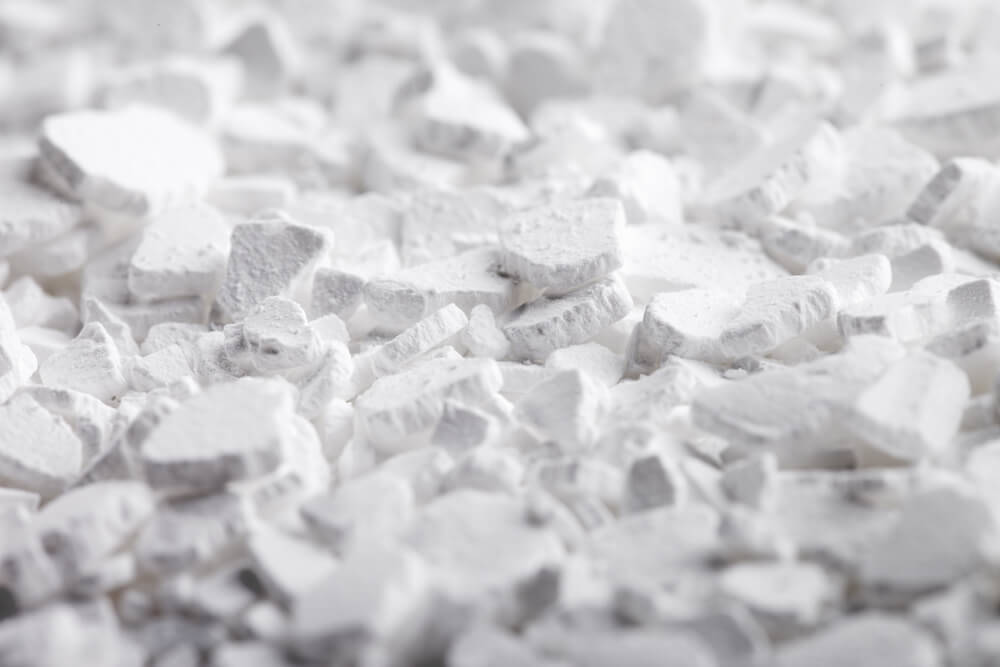
#6. Use Calcium Chloride
Calcium chloride takes water vapor from the air, reducing the amount of humidity inside your wooden shed. You can find this product already in containers at your local home improvement store. But before you go, make sure you know the size of your shed. You will need it to determine how many containers to buy. Once home, all you have to do is place them around your wooden shed’s interior boundary. If calcium chloride is not available, other materials can be used in its place. Potassium chloride, alumina, silica gel, and sodium chloride are all viable alternatives. However, be aware that many of these are toxic to children and pets. The next option may be a better choice if you have either of these.
#7. Use Charcoal Briquettes
Charcoal briquettes are a great alternative to calcium chloride. You have probably noticed their moisture absorbing ability if you’ve left them sitting around open. On the bag they even warn against storing in a wet or moist place. That is because they love wetness! Use this to your advantage. Buy a few bags, and set them inside your wooden shed’s perimeter.
Pro tip: Kitty litter is another moisture absorbing agent!
#8. Bring in the Dehumidifier
During the day, bring out the dehumidifier to help with moisture in your shed. Using this dampness-reducing product will let you see the results. At the end of the day, you will have to pour out all of the water the dehumidifier pulled out of the air. Then, you can really see what your wooden shed is up against.
Pro tip: Don’t forget to close all of the windows and doors before use.
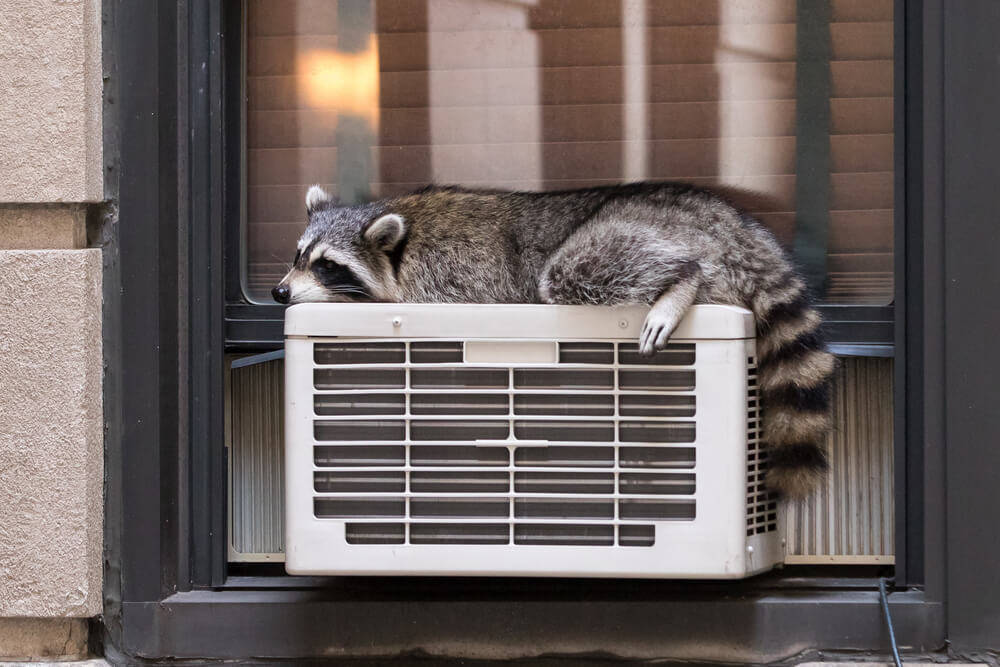
#9. Install a Window Air Conditioner
If you don’t have a dehumidifier, don’t worry. You can use a window air conditioner instead, as long as the power cord is inside of the wooden shed. This works by drawing out the humid air and replacing it with cooler, drier air. Run this during the day to have the maximum effect.
Pro tip: Do not operate a window air conditioner and a dehumidifier at the same time. Not only is it counterproductive, you may blow a fuse!
#10. Install a Window Fan
If you are on a budget, try installing a window fan to decrease your wooden shed’s moisture. These are much less expensive than both the air conditioner and the dehumidifier. To secure, simply open the inner pane, place the fan inside, and close the window on top of the unit. Voila! You have a window fan. These work in much the same way as window air conditioners, except slower.
#11. Open your Sheds Windows and Doors
The final thing you need to know about protecting your wooden shed from moisture is by far the easiest thing on this list. Simply open your wooden shed doors and windows. This lets out the dampness and allows drier air to circulate through. For maximum effect, combine with a window fan.