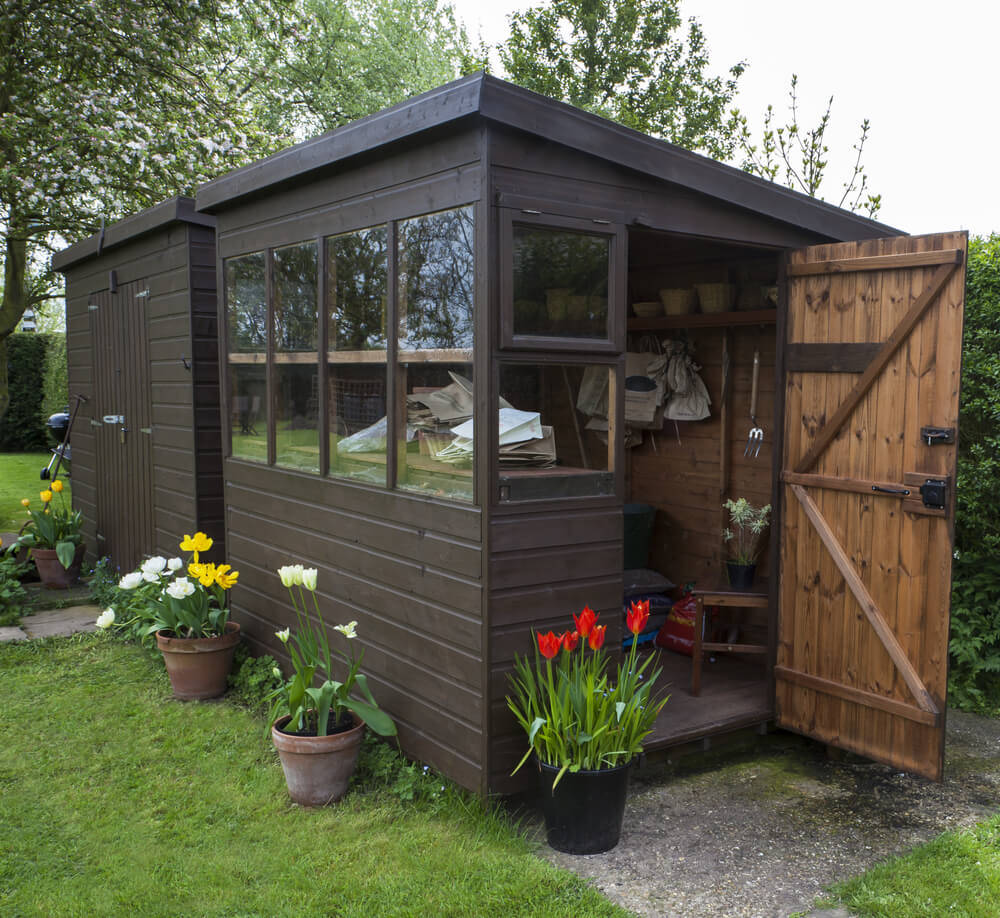
Although it seems like just yesterday we were storing our garden tools, it’s already time to bring them back out! Now that spring is in the air, our hibernation is officially over. For some, the thought of getting started on a garden is exciting. Others are filled with dread over the thought of preparing their wooden shed for seasonal tool storage. If you prepared your building for winter, you should have minimal issues creating room. If you are like most people, your wooden shed is a mess not fit for the most unworthy garden tool. Not to fear! In 5 easy steps you can go from chaos to organization in almost no time!
5 Simple Steps to Wooden Storage Shed Bliss
#1. Get Motivated
First thing’s first: get motivated! Not many articles about organize include this step, but being psychologically ready for the task at hand is important. This is especially necessary for those of us that love to procrastinate. If this sounds familiar, try one of these tips to trick your brain.
- Take it one space at a time. As long as you have a plan to tackle the whole wooden shed, it doesn’t matter how many spaces you have. Starting small with designated areas on designated days (or times) can really help.
- Start early. If there were a best time to begin a project such as this, it would be in the morning. Although you might feel groggy and tired, humans have the most energy in the A.M.
- Make a playlist. Before going to the gym, what do you do to get your head in a good place? Most people like to make a playlist of either music or movies. Honestly, anything that gets you amped should be applied to preparing your wooden shed.
#2. Clean
This step is much easier said than done. Even with motivation. Luckily, this is the step most people find the most difficult. I say luckily, because this will make the rest of the process a breeze!
First, move everything out of the wooden shed. Whether or not you completed this step last fall, you should do it again. Dust and debris fly through the air all winter! Additionally, you will want to take this time to inspect the building for any cracks or leakages. Before doing anything else, take care of these issues to prevent damage to your tools.
Once everything has been taken care of above, focus on the floor below your feet. Check for signs of a rodent or insect infestation, and fill any cracks you find. Sweep out the wooden shed and do any further cleaning you deem necessary. Winter spills may necessitate a mop.
#3. Make a Plan
The first part of making a plan is deciding what you need and what you don’t. With everything out of the building, take some time to reflect. This is especially key when your storage shed doesn’t have enough room for everything. So, be honest with yourself when making this plan. You don’t have to purge your stuff, just make sure you have the room.
The second part of making a plan involves actually planning your space. Ask yourself what tools you have, and what tools you will be purchasing. Are all of the tools necessary for gardening? Will you need all of them to be ready for use all of the time, or are there some items you rarely use? The answer to these questions will help you determine how much storage you should plan for.
#4. Add Storage
This step involves some out of the box thinking. This goes double if you want to have unique, DIY touches in your wooden shed. There are a few ways you can go about adding storage. You can splurge on expensive items, do it yourself, buy cheap, or a mix. The following are some of the best ideas and products we have seen when it comes to warm weather tool placement.
- Mount large garden tools. Most shovels, rakes, shears, etc. have places from which to hang. All you have to do is add hooks. There are a variety of different ways you can do this. Some people use temporary hangers, permanent nails, and even fancy coat hooks.
- Install cabinets. Cabinets can take on a variety of forms in a variety of materials. You can purchase plastic, metal, or wood. You can hire a professional, buy semi-do it yourself, or go full DIY. They can be placed above a table, below a window, or to cover an entire wall.
- Magnetic strips. These cheap strips are perfect to hold your small metal garden tools. A spade, hoe, or scissors are all examples of things you no longer have to hide in drawers. As an added bonus, this idea takes up no wooden shed floor space!

- Hanging baskets. Don’t like magnetic strips? Don’t worry! Hanging baskets can hold the same tools. Place them at or just above eye level.
- Gladiator Gear Wall. Want to put your wheelbarrow on your wooden shed’s wall? Check out this product.
- Industrial storage rack. These items are made by many manufacturers, and come in a variety of sizes to fit any space.
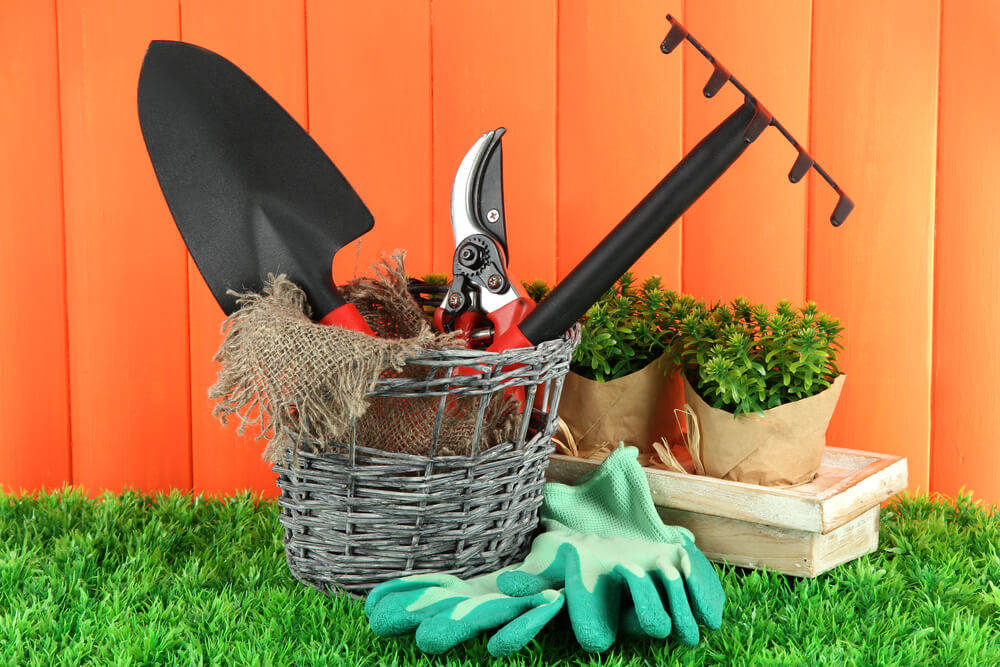
#5. Tend to the Tools
By tending to the tools, we mean keeping them clean. If you didn’t do this in the fall, it’s time to do it now. Wash off any dried mud and other debris. You might need to soak some of them. For difficult clumps, use a wire scrub brush. To remove rust, use vinegar as a soak. Turpentine can be helpful in removing sap.
Garden Tool Storage in Your Wooden Shed is Possible…

…if you follow the 5 easy steps we have outlined. Getting motivated, cleaning, planning, storing, and tending all pay off. Preparing your wooden shed for easy garden tool use will save you a lot of time and headache.