People who enjoy plant proteins often lean towards chickpeas, which are enjoyable and versatile in the manner in which you can cook them. They also boast of numerous health benefits with lots of fiber and an ability to balance your appetite. Additionally, they nourish the cells along your intestine walls, thus boosting digestion. Growing these plant proteins is easy, even for the unskilled beginner who is yet to master the more sophisticated ways of tending to crops. They take about 100 days to mature from the date of planting and as long as you make the necessary preparations as to the quality of the soil and you safeguard their shallow roots, you should have a bountiful harvest at the end of the season. It is also essential to take note of how much water you use on the plants as too much can lead to the rotting of the roots. Let’s get into how to grow chickpeas in your garden with satisfactory results:
Sowing
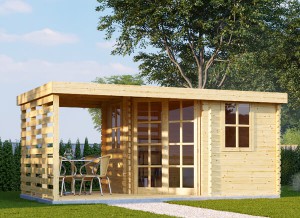
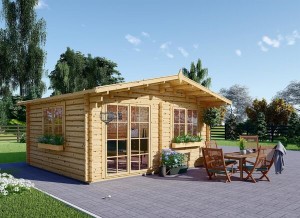
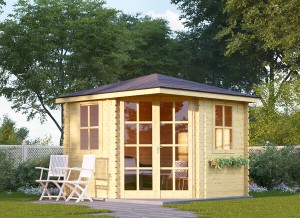
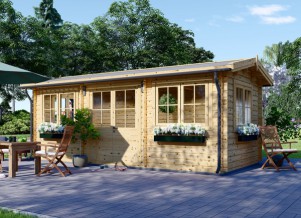
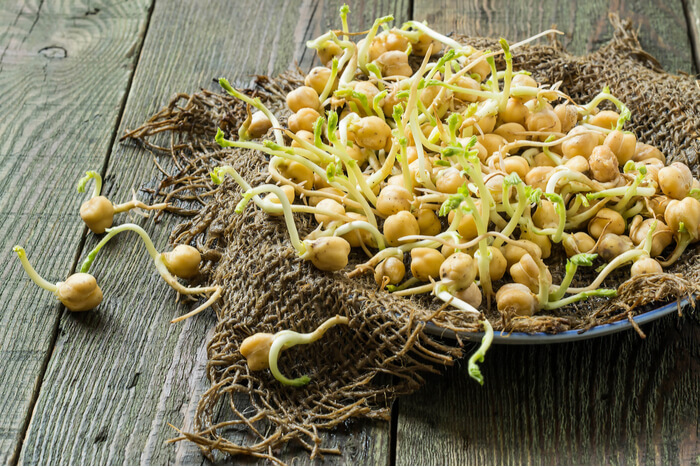
Chickpea seeds are quite fragile and should thus not be subject to the harsh conditions outside until they establish themselves. While some people opt to start the plants outdoors, it is advisable to sow the seeds indoors where you can easily regulate the conditions, such as in a wooden shed. You can also use a protected area outdoors where the seeds can be safe from extreme weather conditions. As long as the seeds are not in the cold ground, they will not be at risk of damage and will thus have an easy time in germination.
Place the seeds an inch deep into the soil at least four weeks before the expected last frost. Having an eye on the local forecast should help you with the timing for this. Where you plan on having the seeds indoors even after the last frost passes, you can start your seeds at any time, owing to the protection offered by the indoors. However, where you plan on moving the seeds to the outdoors, you should wait until there is one week left to the last expected frost and you should cover the ground with some light mulch or sheets to insulate the area and keep the seeds safe from damage. Note that the seeds will take about 100 days from the date of planting to maturity and you should thus plan your planting with this in mind.
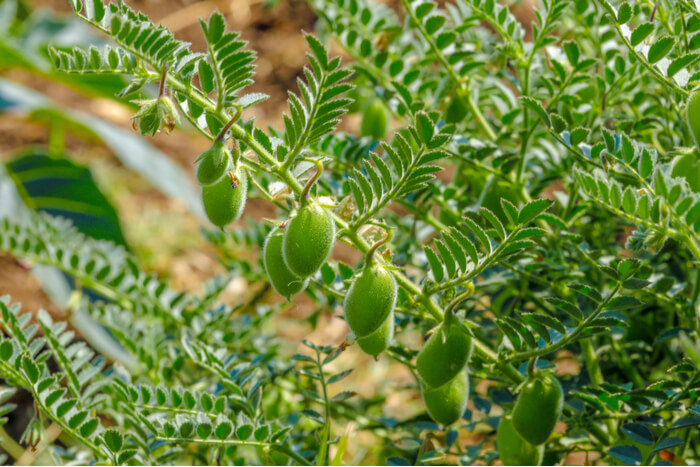
Where you plan on starting the seeds indoors and moving them to the outdoors when the weather becomes favorable, you should put them in biodegradable pots. The essence behind this lies in the fact that chickpea seedlings are quite fragile, and they have low success rates when transplanted from plastic or ceramic containers. Using paper pots will allow you to move the seedlings directly into the ground when the time is convenient without damaging the fragile roots. You can get suitable containers from a local gardening center or online, or you could opt to craft your own.
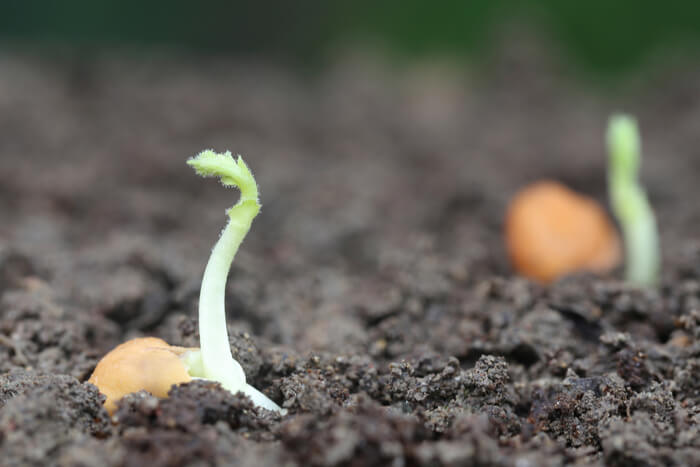
Each pot should have one or two seeds which you should cover with some potting soil. When the seedlings mature, you can thin them out, getting rid of the weak plants, and thereby reducing competition for nutrients. While conducting the removal of the weak ones, be sure to cut them at the soil level using a sharp tool. Plucking them out could disturb the roots and reduce the chances of success of the strong ones. It should take about two weeks for the seeds to sprout.
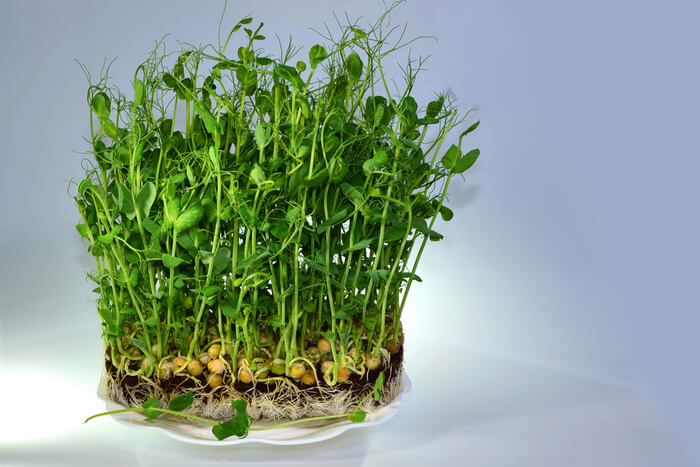
As they germinate the seeds will require adequate access to sunlight and water. You thus need to water the pots each day, ensuring that the soil remains damp and not wet. Watering should be gentle such that you do not disturb the roots which will be fragile at this point. It could be that the temperatures are high and the soil dries at a fast rate, in this case you could increase the watering to two times a day. The pots should be near a south-facing window where the seedlings can receive at least six hours of daylight each day.
When dealing with other plants, you may find that you need to soak the seeds before placing them in the soil; with chickpeas this is not advisable. You should also refrain from watering the seeds too much, as this can lead to cracking. Aim to moisten the surface without wetting it and gently digging into the soil should give you an idea of how much watering is necessary.
Transplanting
If the seedlings are to remain indoors, all you need to do is to move them to larger pots near the window where they can mature. For outdoor planting, you need to select a site that receives at least six hours of sunlight and where the soil is loose and well-draining. Where the soils are of heavy clay, you will need to amend them by incorporating loam soil, or you could select another location where the conditions are favorable. You may have to enrich the soil with some organic material if the site has not been under cultivation in a while. Also, if the soil has a high nitrogen content or was recently used to grow green manure, select an alternative location. High nitrogen levels increase the development of leaves while diminishing the produce. Additionally, avoid shade when choosing the planting site. Though these plants can do well under some cover, the yield will reduce.
You need to prepare the soil by adding some aged compost to the mix at least one week before transplanting the seedlings. It helps to have potassium-and-phosphorus-rich fertilizer as this will increase productivity. You can now wait until the last frost passes before moving the seedlings, which should be at least 4 inches tall at this point.
Place the seedlings in holes that are as deep as the pots in which they are in and ensure that they are at least five inches apart, with rows with 18-inch spacing. Do not remove the seedlings from the containers as this can shock the plants and lead to death. If you notice crowding as the seedlings mature, do not worry as it is a standard process that enables the plants to support each other.
Aftercare
Other than regular watering, light mulching may be necessary when the temperatures start to rise. It will also help to prevent the growth of weeds in the garden. Once you see any pests, deal with them immediately to keep them from spreading.
More about wooden shed here. All the best!

