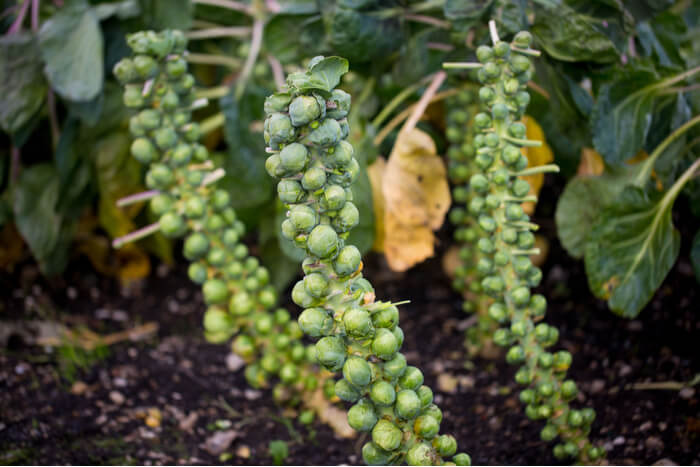
These easy to grow vegetables which do well in low temperatures grow at a slow rate, and people often grow them for a late fall harvest. Though they thrive in low temperatures, you can have them in a temperate region, especially where you plan on sowing them indoors where you can alter the conditions as required. The plants take about ninety days to grow, counting from the time you transplant them to the outdoors till when they are ready for harvest. If you can maintain the temperatures between 45 and 75 degrees Fahrenheit, you should enjoy a good harvest. When it comes to Brussels sprouts growing: things you need to know, here are some guidelines as to the same:

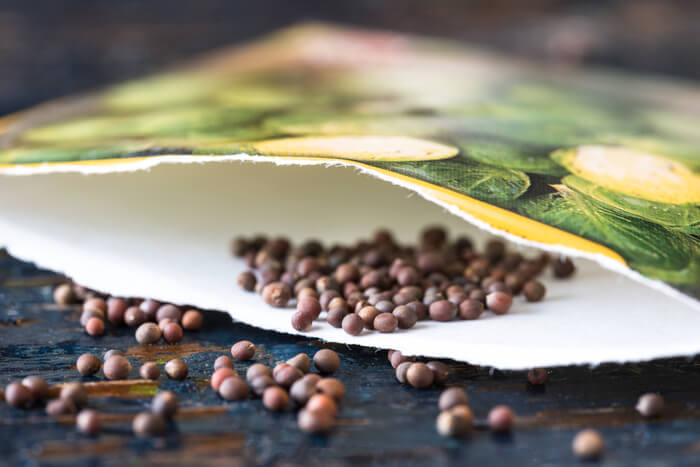
Planting the Seeds
The timing of the planting will depend on when you wish to have the seedlings in the garden. For people growing the plants in controlled conditions such as in a wooden garden shed, the sowing can take place at any time. However, where you wish to have the seeds in the outdoors, you should plan the planting to at least five to six weeks before the transplanting schedule.
The seeds should be in seed pots at least half an inch deep in the soil. Place the containers near a window where they can remain protected from harsh weather conditions while soaking in some sunlight for at least six hours each day. In a wooden shed, the positioning should be towards a south-facing window. You can also start the seeds outside, as long as the chosen site has some level of protection that guarantees that the temperatures will be above fifty degrees Fahrenheit.
Under the stated conditions, the seeds should germinate within two to five days. Thus, if you plan on having the transplants in the outdoors in May, the sowing of the seeds should start in early April to accord you adequate time for preparation. Direct seeding is possible if you start early, but as from mid-June, it is no longer advisable. The good thing about direct seeding is that it allows you to enjoy a continuous harvest throughout the year.
Garden Preparation
If you plan on having the plants in the outdoors, it is essential that you prepare the ground at least two to three weeks ahead of the scheduled transplanting. You need to add some organic compost to the soil as this will work towards increasing the nutrient levels, thus enhancing the growth of the plants. It is also important to note that these plants require for the soil to be loose as this will not impede the growth of their roots. The soil should also be well-draining, such that it retains enough moisture to help the crops grow. While locating a good site for the crops, pick one that has adequate access to the sun, while making allowances for some shade. These plants will do well in partial cover but will not thrive where the shadow is prevalent throughout the day.
You need to take note of the soil’s pH level before planting the seeds and where it is necessary, you should make some adjustments. A pH level of between 6 and 6.5 is best for the healthy growth of these plants. Anything lower or higher than this range will make cultivation challenging and could hamper the growth of your crops. As you check the pH levels, also pay note to the soil temperature which should be between 70 and 80 degrees Fahrenheit. People planting their seeds in the indoors have an easy time regulating temperatures, but for those having them in the outdoors, it pays to wait until the warm weather sets in before transplanting the seedlings.
These vegetables are heavy feeders owing to their need for nutrients at high levels. You should thus have lots of boron, magnesium, and calcium ready as you will apply these nutrients regularly during the initial stages of growth.
Transplanting
If you want the seeds outside, the transplanting should take place when the seedlings are at least four weeks old and six inches tall. It helps to give them some more time indoors, and you should preferably wait until they are six weeks old as they will be sturdier at this point. Transplanting requires care to avoid damaging the young roots. Start by loosening the soil in the seed pot by gently tapping the sides before removing the plant. Next, proceed to soak the root balls in a fertilizer mixed with water before moving them to the garden. The instructions followed will depend on the kind of fertilizer you use and the stipulated guidelines on the same.
As you plant the seedlings, ensure that you leave at least twenty-four inches between each transplant as this will ensure there is no competition for nutrients during later stages. Where the transplants look crooked, you can bury them with soil up to the first set of leaves as this will prevent them from becoming top heavy.
Aftercare
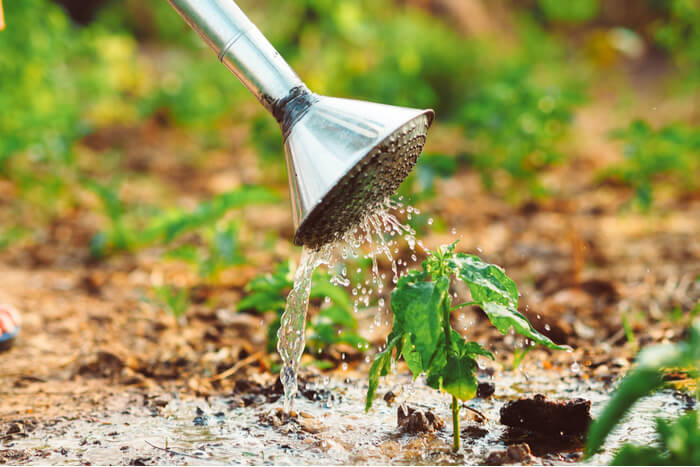
Once the transplants are under a layer of soil, you can now water the ground, ensuring that you do not wet the soil, but rather, you moisten it. It is essential to keep the earth moist as the plants grow and where the rainfall is adequate, you can limit the watering to once a week. You should note that these plants do not do well in standing water as it can encourage the rotting of roots. Regular watering should come to a stop a few weeks before harvest to give the ground time to dry.
In addition to watering, you will also require to feed the plants with nitrogen fertilizer every few weeks, stopping the feeding at the same time that you cut back on the watering. As the harvest date draws near, remove the growing tip as this will result in higher yields in sprouts, owing to reduced leaf growth. Where you face any weed problem, deal with them by hand, ensuring that you do not disturb the quite shallow roots. Also, maintaining the pH at 6.5 will ensure that you keep diseases such as club root at bay.
Harvesting
Harvesting should take place as from the bottom of the plant, heading up and at a slow pace. The sprouts are best when they are tightly closed and small with sizes ranging from one to one and a half inches. Enjoy your harvest!