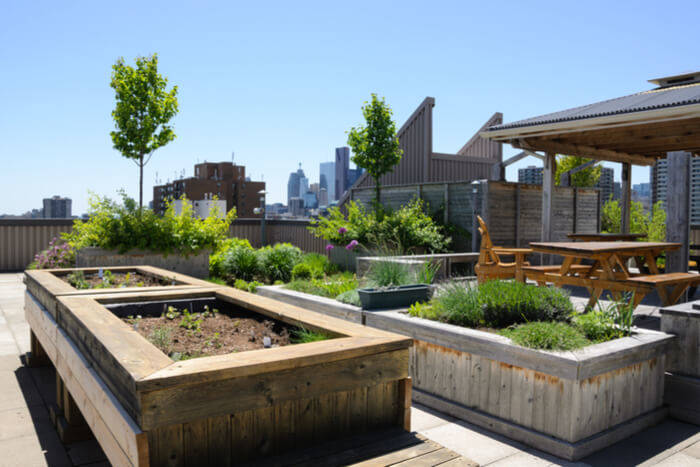
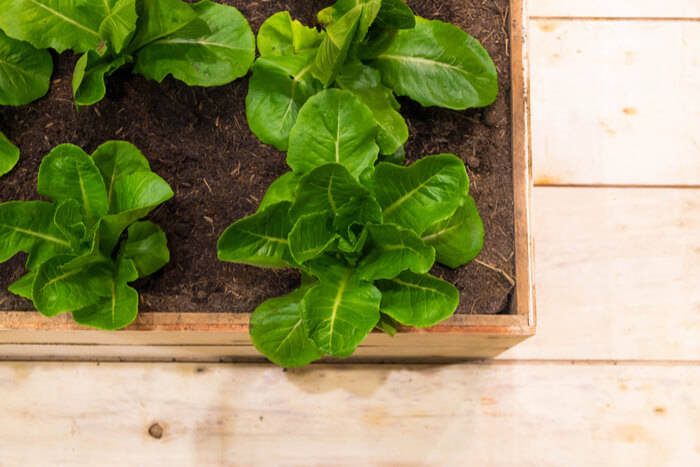
Raised garden bed soil is arguably the most important factor in raising a healthy garden. Without proper soil amendment, you may not even get your favorite plants to grow at all! Don’t know how? Don’t worry! You have come to the right place.
Whether you are new to gardening or it is old hat, you can benefit from our list of tips and trick. Without further ado, let’s get started!
Tips and Tricks to Healthy Raised Bed Garden Soil
#1. Companion Plant
If you are new to the concept of companion planting, it is extremely easy. There are certain plants that can be placed in the same garden bed that help each other grow. Some plants have insect-repelling qualities that other plants don’t.
This method is a way to avoid having to keep track of what you plant where. One plant provides the nutrients the other plant needs. When companion planting, be sure to consult a guide. There is a right and a wrong way to do it, because not all plants can be put in the same bed.
#2. A Strict Organic Diet
To get healthy plants from the get-go, feed them an all-organic diet. Instead of man-made chemicals, choose to give your greenery what they crave. It’s a little like choosing the best brand of dog food with the most nutrients for your best friend!
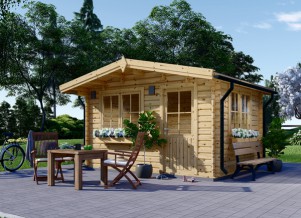
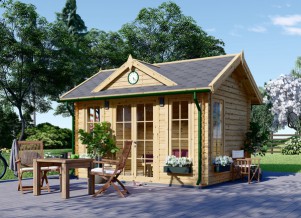
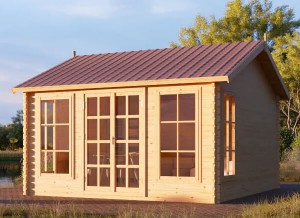
#3. Utilize Your Wooden Shed
Your wooden shed is a great place to store everything you need to make your raised garden bed soil great. You can store wheelbarrows, bags of organic manure, and all of your necessary tools right beside your garden. It’s extremely convenient.

If you plan on purchasing a wooden shed, we recommend you place it as close tot your garden as possible. If you already have an underutilized structure, add some inexpensive shelving for more organization.
#4. Start in the Fall
After the last days of summer, most people don’t think about their garden until the beginning of spring. That is a huge waste of opportunity to enrich the soil. Don’t be like those people. Instead, start feeding your garden in the fall.
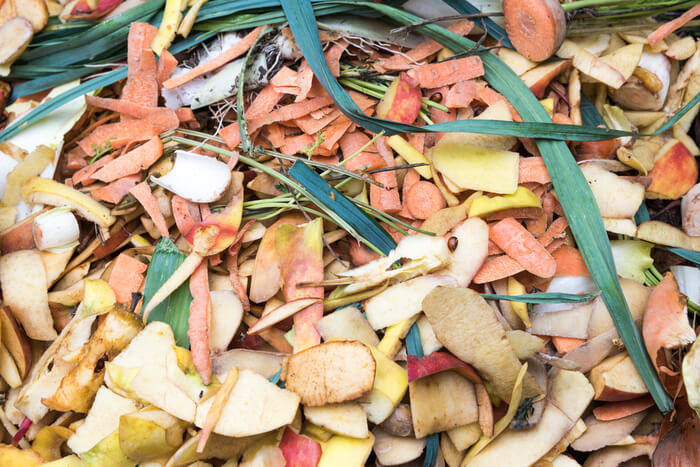
As we mentioned earlier, plants thrive on organic matter and that’s abundant in autumn. You can add leaves, kitchen scraps, apples, and the last grass clippings of the year. Chop these items into your soil about 2 inches by using a hoe or similar tool. Cover with mulch.
Those that don’t start in fall should still try to add compost, mulch, lime, etc as early as they possibly can before planting. This gives nature time to work its wonders on your soil.
#5. Utilize Nature’s Soil Enrichers
Worms naturally add nutrients throughout your soil. Some people keep worms for their compost, pile, but we recommend another method. Instead of putting the worms in your compost, do it all on top of your garden! This is called sheet mulching.
On top of your bed, alternate both green and brown compost. Green means grass clippings or old shredded leaves. Brown refers to manure. It may seem like overkill, but this is the perfect environment to encourage worms to leave behind nutritional casings throughout.
New gardeners should start this process a whole year before they want to plant. Those with existing beds can wait until a few months before planting season.
#6. Use Manure
Although it seems gross, manure really helps a garden grow! You can pick some steer or worm casings up at garden stores or online. Simply apply this natural fertilizer to your raised bed soil when you add your compost.
#7. Protect Against Intruding Soil
If you haven’t built your raised garden bed yet, this is a step for you. We can’t stress enough how important it is to keep your natural soil separate from your amended soil. At the bottom of the bed, apply cardboard or garden fabric to keep them apart.
#8. Protect Against Weeds
The best way to defend against weeds is mulching. Why? It is cutting off the supply of sunlight the seeds need to sprout. It doesn’t matter that they are sitting in your garden getting water. Without light, they will never see the light!
Be aware that some plants do not like to be mulched, including some vegetables. In this case, you can use newspapers or compost.
#9. Test Your Soil
If you want to get into the dirty details of your garden, get a soil testing kit. This involves taking a soil sample from your garden and submitting it for analysis. This is relatively inexpensive (around $20), and will save you the guessing game.
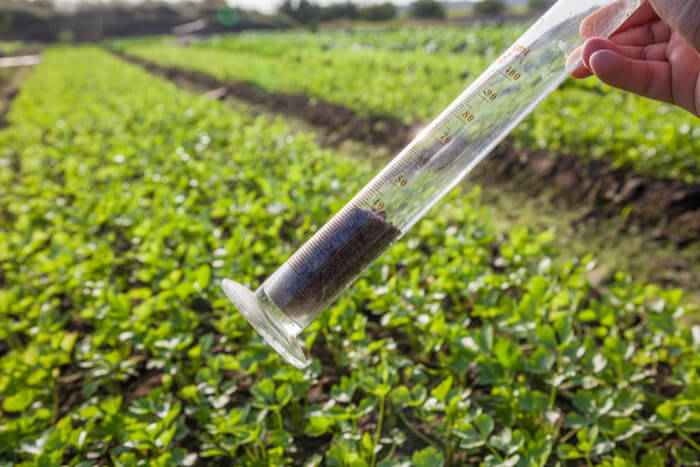
The best time to test the soil is in late summer/early fall. This is the time when your garden has been most depleted of nutrients.
#10. Pull Weeds ASAP
Some weeds will break through the surface of your raised garden. It’s a fact. When that does happen, you need to take care of them as soon as possible. Pull those suckers up by their roots when you see their heads poke through. If not, you will have more problems on your hands.
Not to mention the roots of the weeds crowd out the roots of the things you actually want in your garden bed. Throw weeds away. Some say you can add compost over them if they are seed spreaders. However, most people don’t know enough about weeds to make that decision.
#11. Recycle
How many times have you pruned a plant just to throw away those materials? It happens all the time, but it really shouldn’t. One important way plants compost themselves is by their own leaves and stems. If you look in nature, no one prunes or picks up the pieces. They lie there at the base and become a part of the soil that feeds the plant.
We recommend cutting your plant litter smaller before spreading it around the base. That will accelerate the rate at which the dead greenery will turn into compost.