Hanging carved wood wall art is a great way to spruce up any room. No pun intended! If you like to work with wood and are interested in carving your own art, stay tuned! Even if you don’t have the tools for carving, we have a cheat project for you.
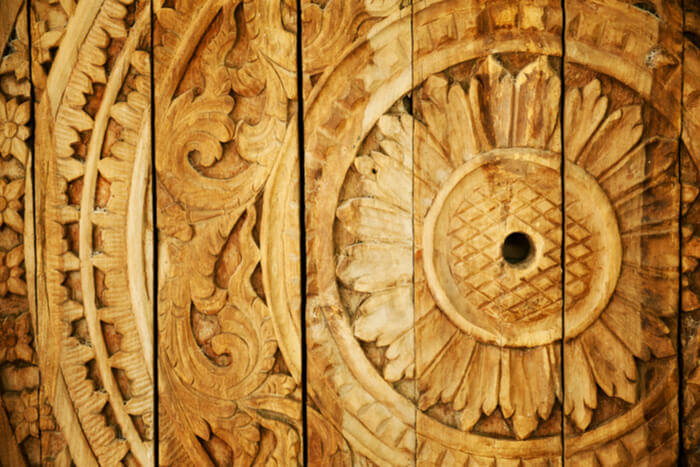
DIY Carved Wood Wall Art
For the Non-Carver
It takes tools to carve wood, and not everyone has them. If you have the time and money to research and purchase some, that’s great. If not, you can still make beautiful wooden art for your wall. Enjoy this awesome knockoff!
Materials
- Rosettes (you can find these at Amazon.com, and maybe some at your local home improvement store). Rosettes come in many different designs, so you can purchase something you think is beautiful or interesting.
- Wood (you can use the same size wooden panels as backing, or use different sizes for a fun piece). We used panels ¾ inch thick. One was 14x12 and the smaller two were 12x10. It’s truly up to you.
- Sandpaper or mechanical sander
- Wood glue
- Paintable caulking
- 3 colors of chalk paint (we used gold, country grey, and antique white, but the color is truly up to you). Just remember the outer color will be distressed to reveal the shades underneath.
- Flat sealer
- Drill
- Hammer
- Nail
Instructions
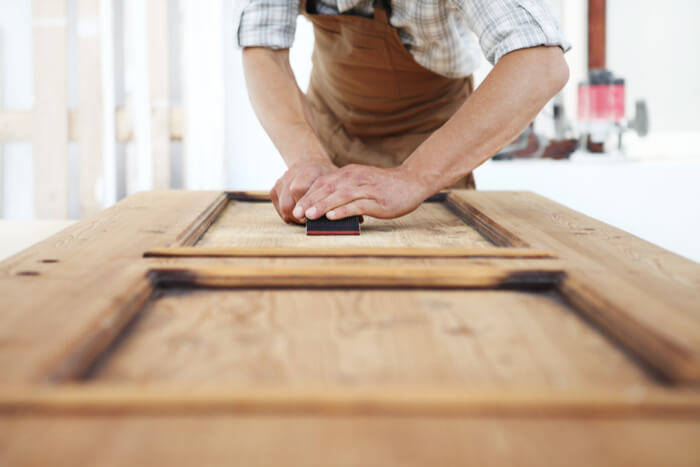
1. Once you have your rosettes, or have ordered them online, go out and purchase the necessary wood. Then, take the time to sand each of them down.
2. Attach the rosettes to the wooden panels using wood glue. Allow them to dry.
3. If there are any spaces between the back of the rosette and the wood, fill it in with paintable caulking. Allow setting.
4. Now it’s time to paint! First, apply your darkest color. That would be our gold. Allow drying.
5. Paint the second layer the moderate color. We chose a country grey. Allow drying.
6. Paint the third and final layer, and allow them to dry.
7. Distress the pieces as you see fit by using sandpaper to reveal your bottom layers.
8. Spray flat sealer over your “carved” wooden wall art and allow to dry.
9. Use a drill to make a hole in the back of your works of art. Then, hang them in a desired location using a good ole fashioned hammer and nail!
Twisted Wood Fabric
If you are a beginning woodworker, this carved wall art is a great project. It not only looks cool, but it’s relatively easy in terms of woodcarving. Did we mention the materials are relatively inexpensive? The key is to go for a wrinkled fabric look. Another way to think of it is to make a topographical map with mountains and valleys. Really, you can’t go wrong.
Materials
- Sawdust protection
o Goggles
o Ear protection
o Protective clothing
o Breathing mask
o Hat
- Cling wrap
- Painter’s tape
- Wood glue
- Wood stain (choose any color you want!)
- Wood clamps
- Triple thick gloss spray glaze
- 1x8x8 poplar board
- 4 ½ inch angle grinder (not too expensive, and easy to borrow)
- 4 ½ inch carbide cup wheel
- 4 ½ inch sanding disk (40 is best, but 80 will do)
- Various grits of sandpaper
- Hanging system (we recommend flush mount hangers)
Instructions
1. Cut down the board into 6 equal sections. They won’t be perfect, but close is fine. The excess will come off later.
2. Stack the pieces the way you want to carve into them.
3. Now, cover your worker’s bench in cling wrap, and use painter’s tape to secure it. The last thing you want to do is glue your art project to your table!
4. Make 2 piles of 3 pieces each and put them side-by-side. As you put each board on, glue it thoroughly to the piece beside it, above it, and below it. You want one solid block made up of these 2 piles of 3 pieces.
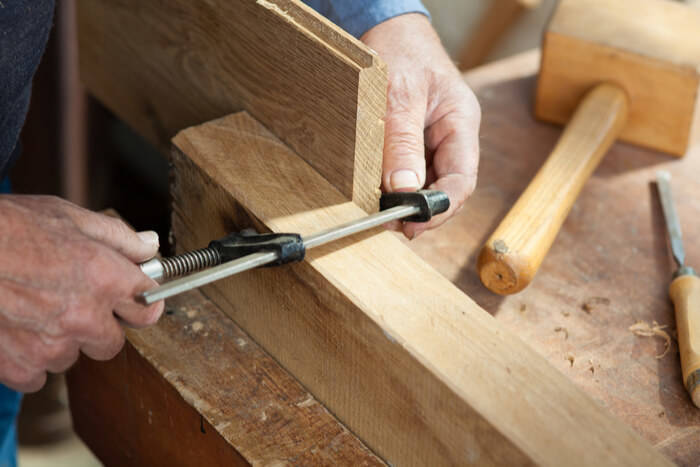
5. Clamp the crap out of the resulting block (vertically and horizontally) to help it dry as one. Make sure to cover the clamps with painter’s tape so the glue doesn’t get on them. Having to get a clamp and wood apart is not a fun afternoon.
6. Now is the time to cut the ends off of the blocks so they are even.
7. At this point, we recommend drawing some lines to follow on your wood while you carve. You can either mark the “mountains” or the “valleys”.
8. Now, attach the carbide blade and begin! Start off easy to get your groove, and then steadily become more aggressive as you get more comfortable. You will quickly learn the best way to move your disc to get the twists and curves you want.
9. Once you get the design you want, it’s time to sand! Using your 40-grit sanding disc, sand away the larger bumps and chunks. An 80 will work, but it tends to leave some marks.
10. Using sandpaper and your hands, get into the nooks and crannies of your design. You may be too exhausted after the carving, so you can always save this portion of the project for a later date.
11. Get ready to stain! Make sure the sides and front at least are stained. The back isn’t as important, but it never hurts to cover all sides. At this point, let the color do the work and sink in. Allow the stain to dry before adding another coat (if you choose).
12. Finally, spray on your triple thick gloss. This gives your piece the shine of an exotic wooden work of art! Allow this final layer to dry.
13. Attach your hanging system, and pick the perfect spot in your wooden home!